2.4. Flashing#
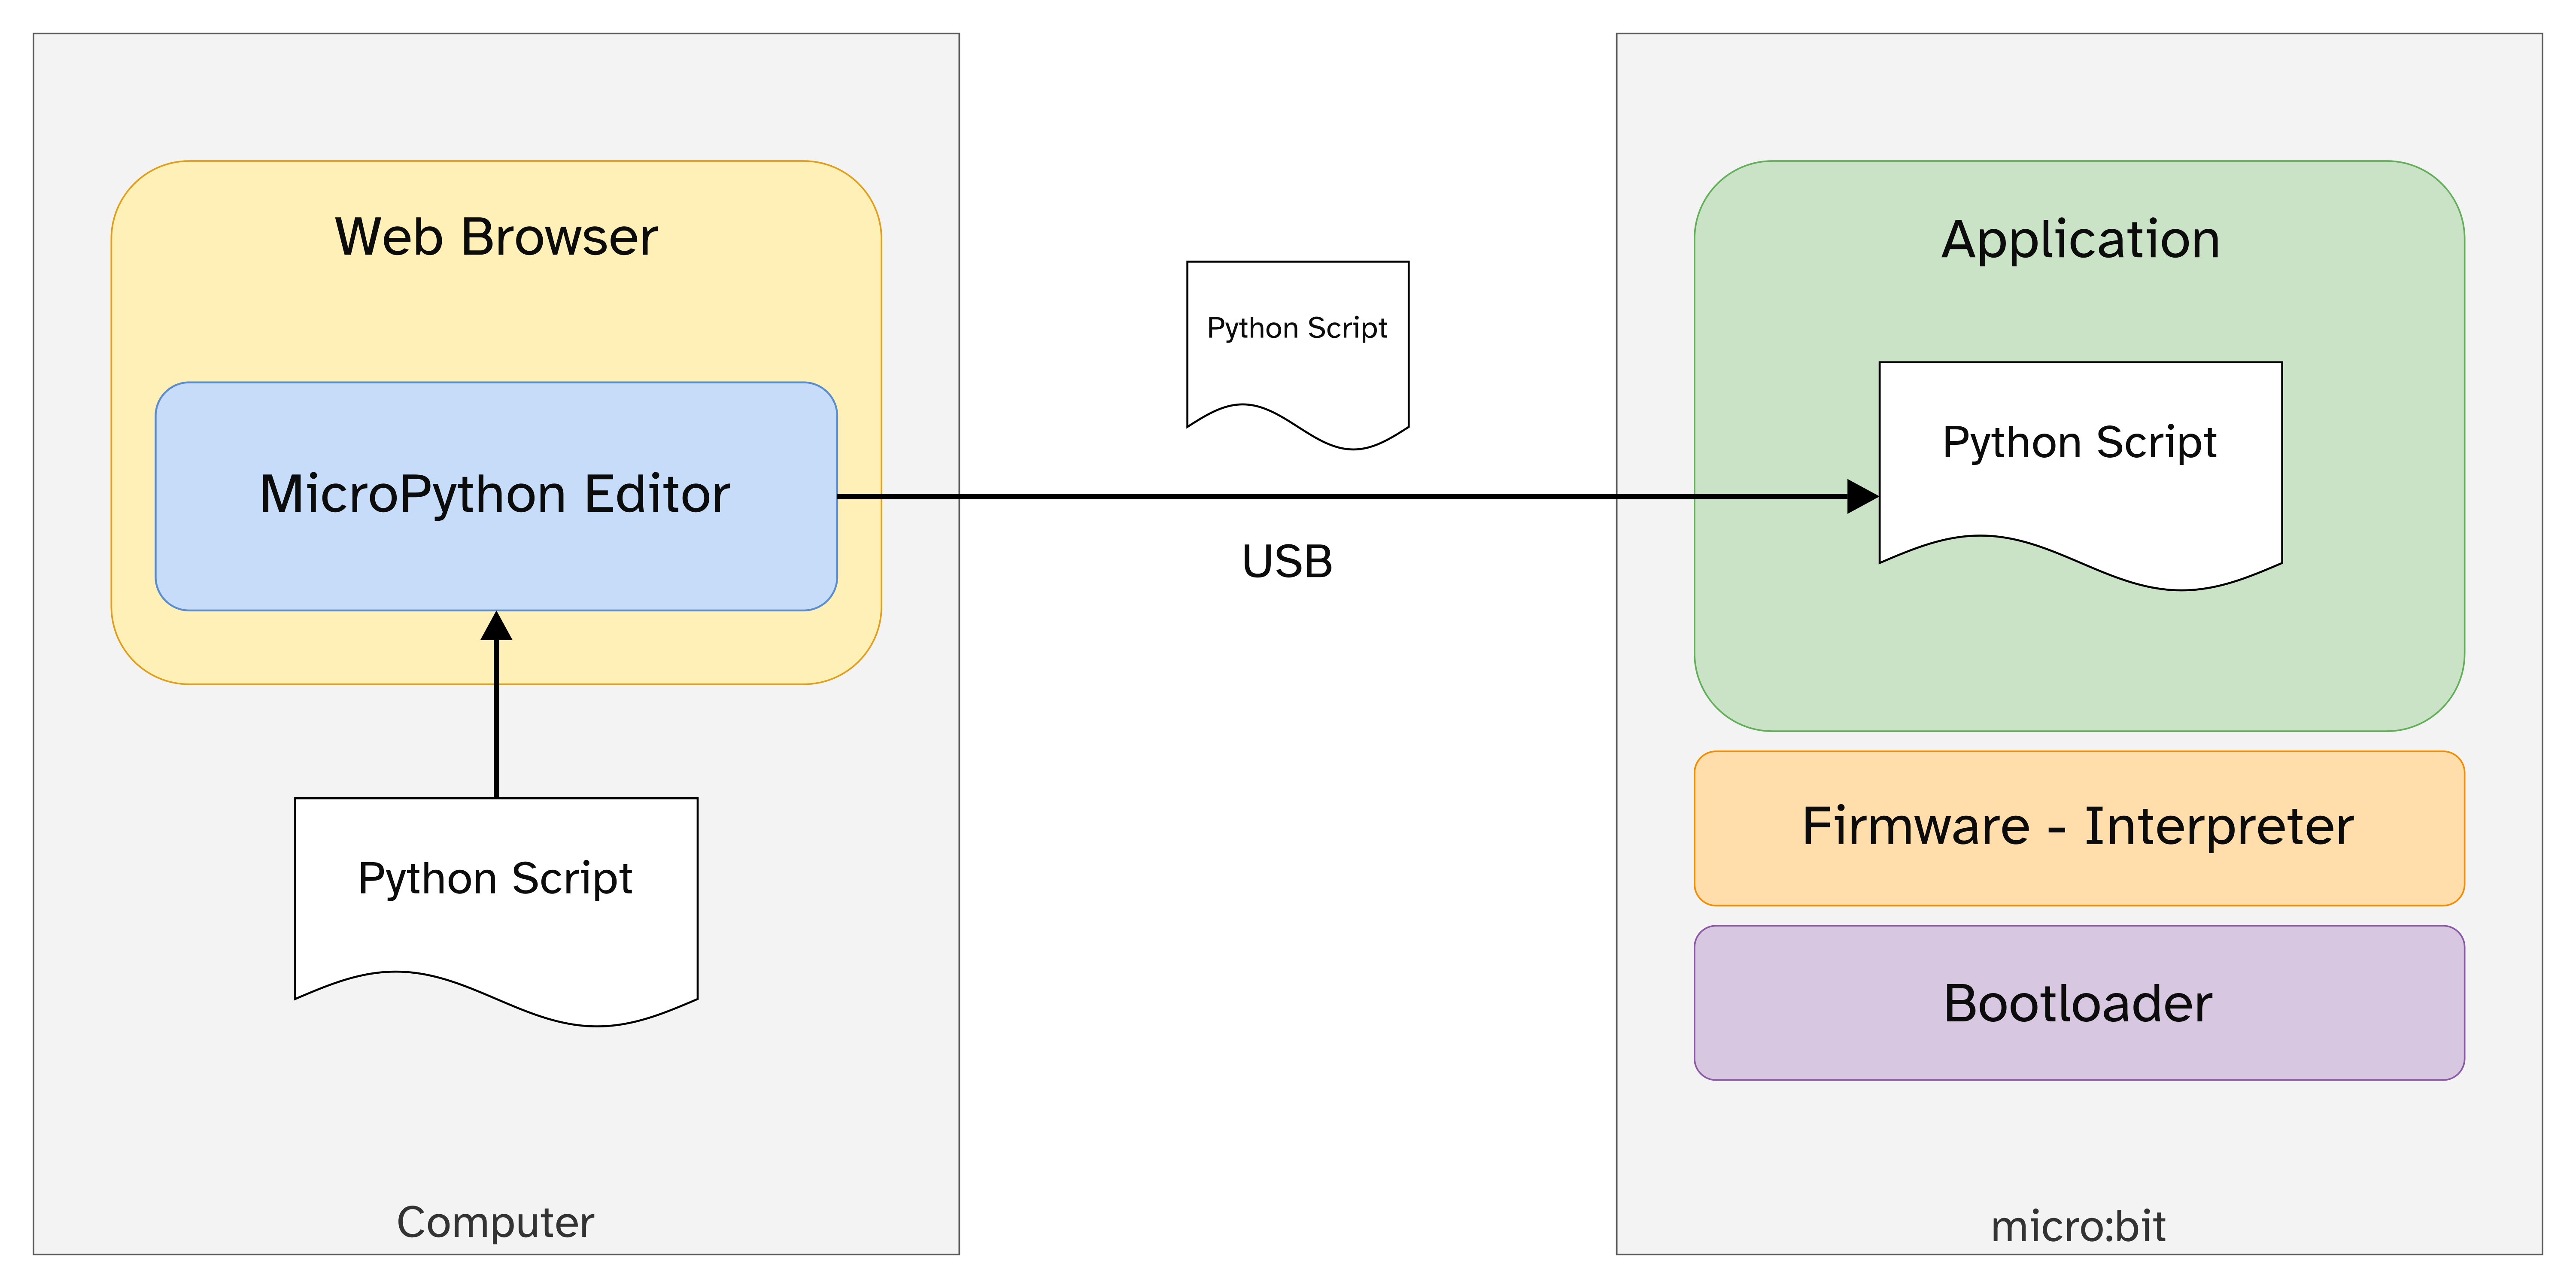
Flashing means to overwrite the application code or firmware with a new version. In other words it is re-programming the microcontroller with new code. The bootloader itself can be flashed with a new bootloader but this is much less commonly done.
The graphic below gives an overview of the process.
2.4.1. Steps#
Warning
Flashing requires a WebUSB compatible browser such as recent versions of Chrome, Edge or Opera.
1. Plug in the micro:bit to your computer via USB
2. Write your code in the MicroPython editor
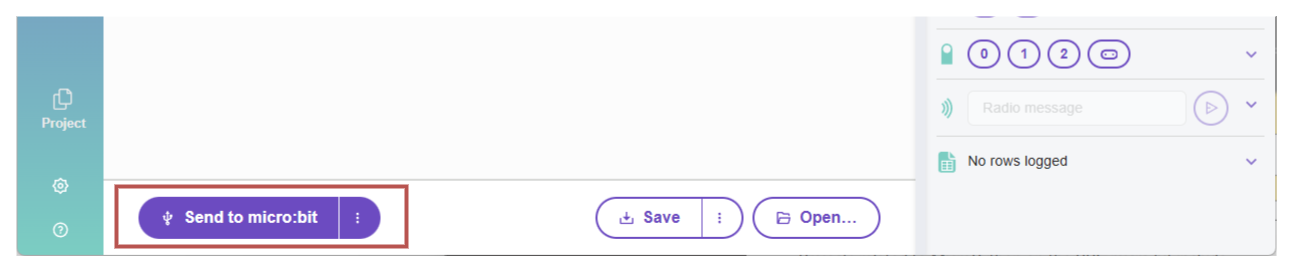
3. Click “Send to micro:bit”
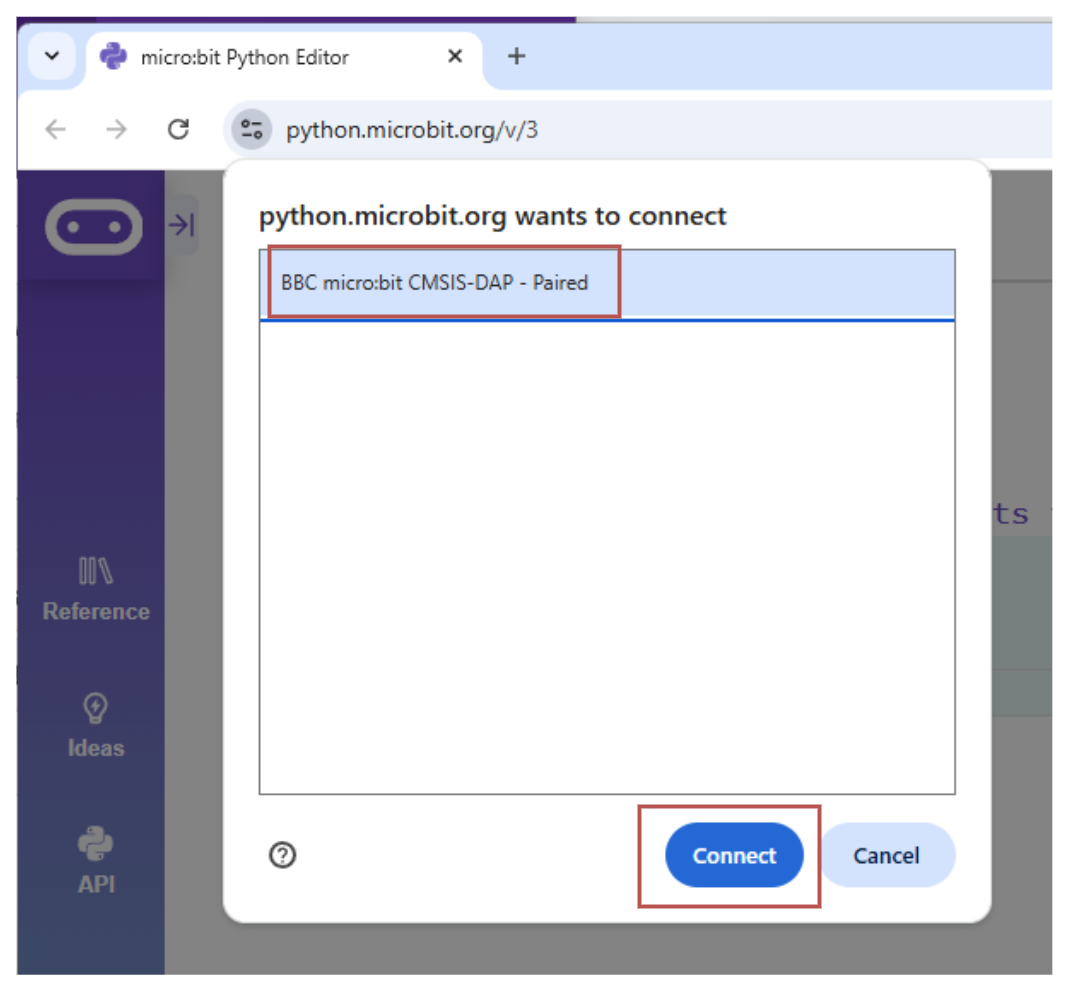
4. Select the correct USB device and click “Connect”
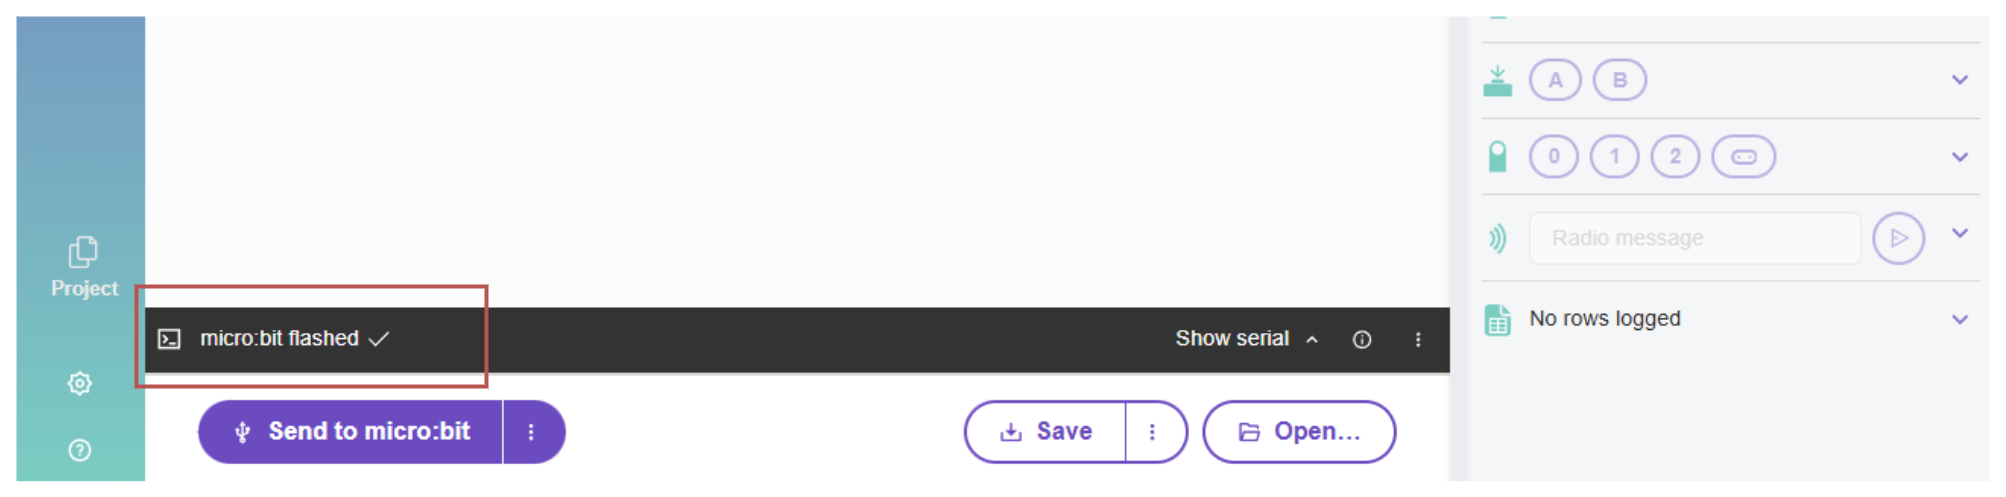
5. If flashing was successful you should see the message below
2.4.2. Exercises#
Navigate to the MicroPython editor https://python.microbit.org/v/3. If you already have it open, then use that existing window or tab.
Connect your micro:bit using the instructions on the previous page
Enter the following code into the editor
from microbit import *

while True:
    display.scroll("I'll be back.")
Flash the code to your micro:bit.
If you get stuck ask a peer or your teacher for help!
Question 1
Now edit the scrolling message to whatever you like. Re-flash the code to your micro:bit.
Describe what happens.
Solution
You should see the progress bar and successful flash message. The scrolling message should be updated on the LED matrix.
Question 2
Press and release the Reset button on the back of the micro:bit while it is running.
Describe what happens.
Solution
Solution is locked
Question 3
Disconnect the USB cable from the micro:bit while it is running then reconnect it.
Describe what happens.
Solution
Solution is locked
Question 4
After re-connecting the micro:bit, change the code again and try to flash the micro:bit.
Describe what happens.
Solution
Solution is locked